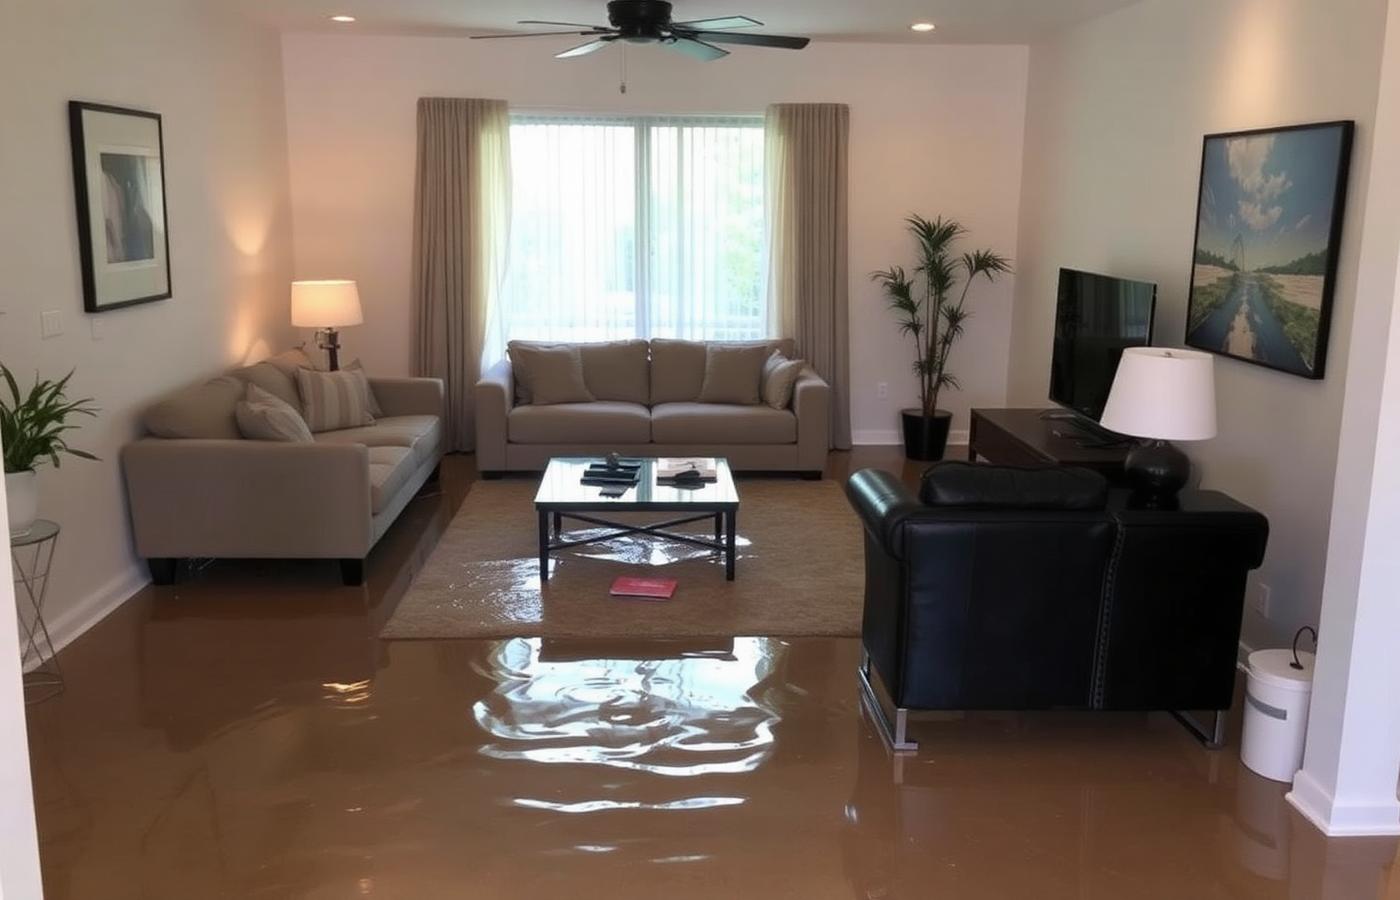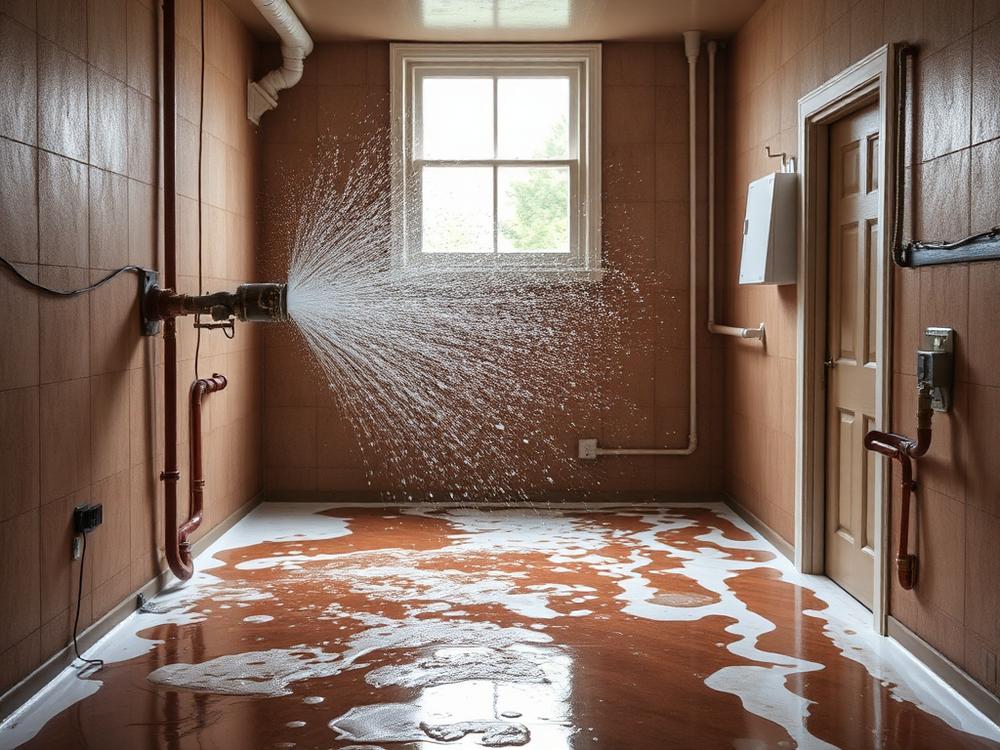
Standing in a hallway watching water spread across the floor is a genuinely awful feeling. You do not know how far it has traveled, what it has ruined, what it will cost, or who to trust. Most of the homeowners who call us in Katy have never dealt with water damage before, and the first thing they ask is not about price — it is 'what actually happens now?'
This guide answers that question in plain language. It walks through the entire water damage restoration process from the moment you pick up the phone through the last repair, so you know what each crew member is doing, why it matters, what questions to ask, and roughly how long each stage takes. Understanding the process is not just reassuring; it helps you make better decisions in the first few hours, when those decisions have the biggest effect on how much of your home is saved.
That matters especially here. Katy homes are built on shifting clay, most are slab-on-grade, and our humidity routinely sits above 70 percent. Water that would air-dry in a drier climate sits in drywall and subfloor here and turns into a mold problem within a couple of days. Acting fast is not a sales line — it is the difference between drying a room and rebuilding it.
If your Katy home has water damage, contact Katy Water Damage Pros for fast professional help. We answer 24/7 and dispatch local crews with extraction and drying equipment on board.
What Is the Water Damage Restoration Process?
The water damage restoration process is the structured sequence a professional company follows to take a wet property back to its pre-loss condition. It is not just 'suck up the water and put fans out.' It is a documented series of steps — assessment, extraction, drying, cleaning, mold control, and reconstruction — with measurements taken at each stage to prove the structure is genuinely dry before repairs begin.
In practice, the timeline looks like this:
- Emergency contact and initial assessment — usually within minutes of your call.
- On-site inspection and moisture mapping — typically the first 1 to 2 hours after arrival.
- Water extraction — same day, often within the first several hours.
- Drying and dehumidification — 3 to 5 days on average, monitored daily.
- Cleaning, disinfection and deodorizing — during and after drying.
- Mold prevention or remediation — as needed, based on moisture readings and exposure time.
- Repairs and reconstruction — days to weeks, depending on what has to be rebuilt.
Steps one through six are commonly called 'mitigation' — stopping the damage from getting worse. Step seven is 'restoration' or 'rebuild' — putting the house back together. Insurance carriers treat these as two different phases, and knowing that distinction alone will make your claim conversation much easier.
Step 1: Emergency Contact and Initial Assessment
Everything starts with a phone call, and a good restoration company begins working the problem before anyone gets in a truck. The person answering should be gathering information to size the job and to help you limit damage in the meantime.
What the restoration company will ask you
- Where is the water coming from, and has it stopped?
- How long has it been running — minutes, hours, or since you were away?
- What type of water is it: clean supply line, gray appliance water, or sewage?
- How many rooms and levels are affected, and what are the floors made of?
- Is the water near electrical outlets, panels, or the HVAC system?
- Is anyone in the home with asthma, allergies, or a compromised immune system?
- Do you know your insurance carrier and policy number?
Those answers determine what equipment goes on the truck. A single wet bedroom carpet needs a portable extractor and four air movers. A downstairs slab leak that has been running for two days across tile, engineered wood, and baseboards needs a truck-mounted extraction unit, a dozen air movers, and multiple large-capacity dehumidifiers.
Why emergency response time matters so much
Water migrates. It does not sit politely in the room where it started. Within an hour it wicks up drywall, runs along the top plate of a wall, spreads under tile through the thinset, and pools under cabinet toe-kicks where you cannot see it. Within 24 to 48 hours in Katy's humidity, mold begins colonizing the paper facing on drywall. After 72 hours, you are frequently talking about removing materials that could have been dried and saved on day one.
A realistic emergency response target in the Katy area is 60 minutes or less to Cinco Ranch, Cross Creek Ranch, Firethorne, Old Katy, and Grand Lakes, with slightly longer times out to Fulshear, Richmond, Cypress, Sugar Land, and West Houston depending on traffic on I-10 and the Grand Parkway.
What you should do before the crew arrives
- Shut off the water at the fixture stop valve or the main shutoff near the street if the source is plumbing.
- Turn off electricity to affected rooms at the breaker — but only if you can reach the panel without standing in water.
- Photograph and video everything before you move anything. This is the single most valuable thing you can do for your insurance claim.
- Lift furniture legs onto foil or wood blocks so stain and finish do not bleed into wet carpet.
- Move electronics, documents, photos, and irreplaceable items to a dry room.
- Remove area rugs from wet hardwood — the dyes will transfer permanently.
- Do not use a household vacuum on standing water, and do not run ceiling fans in a room with suspected sewage contamination.
- Call your insurance carrier and open a claim number, even before you know the extent.
Step 2: Water Damage Inspection and Damage Assessment
When the crew arrives, the first 30 to 90 minutes are spent on inspection, not on equipment. This is the stage that separates a professional job from a rushed one, because everything that follows depends on knowing exactly how far the water traveled.
The equipment used to find water you cannot see
- Thermal imaging cameras, which reveal temperature differences where moisture is evaporating behind walls and ceilings.
- Non-penetrating moisture meters that scan drywall, tile, and subfloor without leaving holes.
- Pin-type moisture meters that measure moisture content at specific depths in wood framing and subfloor.
- Thermo-hygrometers that record temperature, relative humidity, and grains of moisture per pound of air in each affected room and outside the home.
- Borescopes for looking inside wall cavities, under cabinets, and beneath built-ins through a small access hole.
The output of this stage is a moisture map: a room-by-room diagram showing where the water went, what materials are wet, and what the starting readings are. Dry, unaffected areas of the same material are measured too, so there is a baseline to dry back to. Without that baseline, 'dry' is just an opinion.
Finding the source, not just the symptom
No drying plan works until the water stops. Part of the inspection is tracing the damage back to its cause. In Katy homes, the sources we find most often are:
- Burst or split supply lines, especially braided washing machine hoses, ice maker lines, and PEX connections in attics after a hard freeze.
- Slab leaks caused by our expansive clay soil shifting and stressing under-slab plumbing — often first noticed as a warm spot on tile or an unexplained water bill.
- HVAC condensate line clogs and overflowing drain pans in attic air handlers, which quietly soak ceilings all summer.
- Roof leaks from wind-lifted shingles after Gulf Coast storms, showing up as ceiling stains around vents and valleys.
- Heavy Texas rainfall and street flooding backing into garages, first floors, and low-lying additions during tropical systems.
- Failed water heaters, which typically let go somewhere around years 8 to 12.
- Shower pan and tile grout failures in upstairs bathrooms that leak into the ceiling below for months before anyone notices.
Classifying the water and building the plan
Restoration professionals classify water into three categories. Category 1 is clean water from a supply line. Category 2, or gray water, comes from appliances, washing machines, or dishwashers and carries some contamination. Category 3, or black water, includes sewage backups and flood water from outdoors, and requires containment, protective equipment, and removal of most porous materials.
Time changes category. Clean water sitting in a warm Katy house for two days becomes gray or black water because bacteria multiply. That is another reason speed matters — waiting does not just increase damage, it changes the entire scope of the job.
The finished restoration plan tells you which materials are being dried in place, which are being removed, how many pieces of equipment will run and where, and roughly how many days drying should take. Ask for it in writing. A company that cannot explain its plan probably does not have one.
Step 3: Water Extraction and Removal
Once the plan is set, the priority is removing every drop of standing and absorbed water as fast as possible. This is by far the most efficient stage of the process: extraction removes water hundreds of times faster than evaporation does, and every gallon pulled out now is a gallon that does not have to be evaporated over the following days.
The equipment professionals use
- Truck-mounted extraction units for large volumes, capable of moving hundreds of gallons per hour.
- Portable submersible pumps for standing water more than a couple of inches deep.
- Weighted extraction tools that press water out of carpet pad and cushion rather than just skimming the surface.
- Wet vacuums and squeegee wands for hard surfaces, corners, and stair treads.
- Controlled demolition where needed: removing baseboards, drilling weep holes at the base of walls, lifting a section of carpet pad, or pulling a strip of unsalvageable laminate so trapped water can escape.
Why DIY cleanup usually is not enough
A shop vacuum and a box fan handle a small, contained spill on tile just fine. They do not handle a soaked wall cavity. The problem is not the water you can see — it is the water that has already wicked 18 inches up the drywall, saturated the bottom plate of the framing, and settled under the tile bed and cabinet toe-kicks.
Homeowners who dry the surface and stop almost always call back two to three weeks later reporting a musty smell, cupping floors, or bubbling paint. By then the mold is established and the repair scope has doubled. Professional water damage cleanup is worth it precisely because it addresses the moisture you cannot reach or measure yourself.
Step 4: Drying and Dehumidification
After extraction, the remaining moisture is bound inside materials — drywall, framing, subfloor, insulation, cabinetry. Getting it out requires creating a controlled drying environment, not just pointing fans at a wet floor.
How professional structural drying actually works
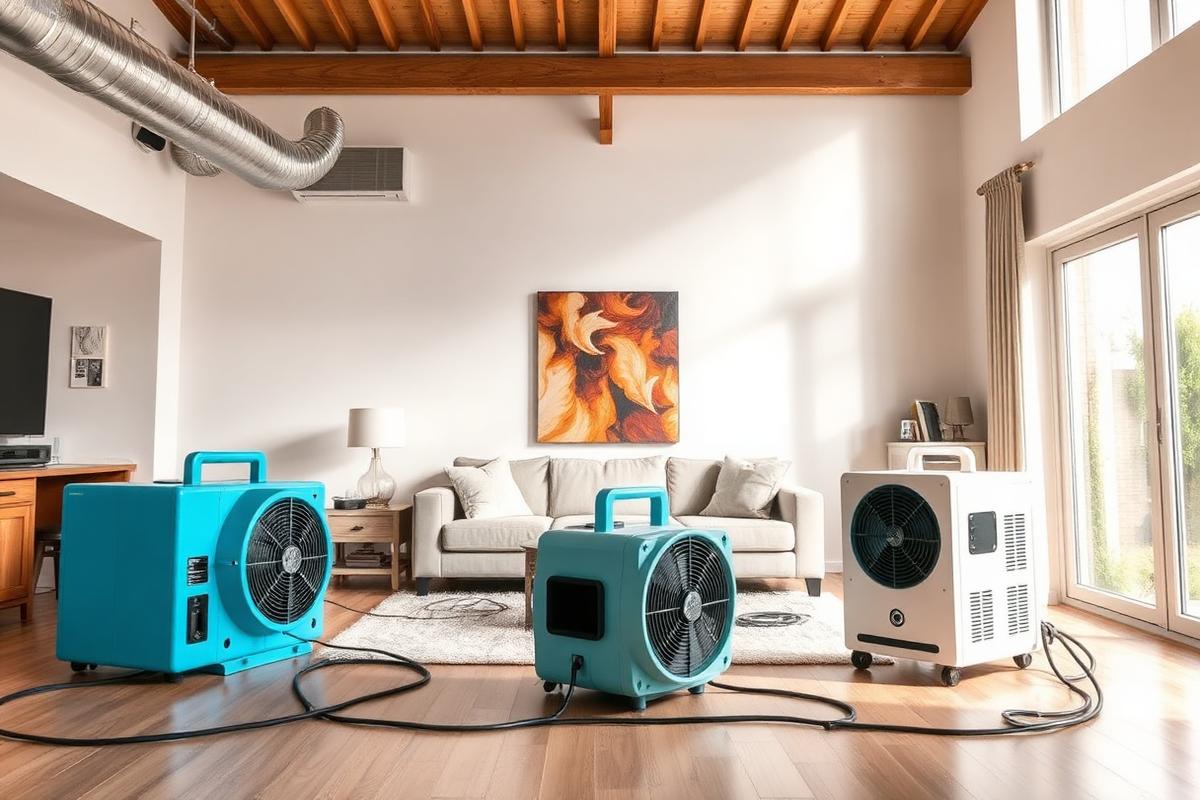
Air movers are placed at low angles along walls to create fast, laminar airflow across wet surfaces. That airflow strips the thin boundary layer of saturated air sitting against the material, which lets moisture keep evaporating instead of stalling. Commercial dehumidifiers then pull that evaporated moisture out of the air and drain it away, so the humidity in the room stays low enough for evaporation to continue.
Both halves matter. Air movers without dehumidification simply move wet air around the house and can push moisture into rooms that were never affected. Dehumidifiers without airflow dry the air but not the structure. The ratio of equipment to square footage and to the class of water loss follows industry standards, which is why a professional job often has more equipment running than homeowners expect.
Daily monitoring and why 'feels dry' means nothing
A technician should return every day to record moisture content, relative humidity, and temperature in each affected area, then adjust or move equipment based on what the numbers show. Drying is not linear — progress often slows at the same time surfaces start feeling dry to the touch.
That is the trap. Drywall can read 30 percent moisture content on a meter while feeling completely dry to your hand, because the surface dries first and the core holds water. Wood subfloor under a vapor-impermeable tile or vinyl layer can stay saturated for weeks. Insulation inside a wall can be soaked while the paint outside looks perfect. Equipment comes out when the meters match the dry standard in unaffected areas — not when the room feels okay.
How long does water damage restoration take?
For most homes, drying takes 3 to 5 days and the entire process including repairs takes one to three weeks. Here is a more useful breakdown:
- Minor damage — one room, clean water, caught quickly: 1 to 3 days of drying, with little or no reconstruction.
- Moderate damage — multiple rooms, wet drywall and flooring, some material removal: 3 to 7 days of drying, plus roughly 1 to 3 weeks of repairs.
- Severe damage — category 3 water, multiple levels, cabinetry and structural materials affected, mold present: several weeks total, with drying alone often running 7 to 10 days and reconstruction extending a month or more.
Variables that stretch a timeline: hardwood floors (which dry slowly and often need specialty mat systems), plaster, dense hardwood cabinetry, saturated insulation inside exterior walls, high outdoor humidity, and any delay between when the water started and when extraction began. That last one is the only variable you control.
Step 5: Cleaning and Sanitizing
Water leaves behind more than moisture. It leaves bacteria, soils, and odor-causing compounds in everything it touched. Cleaning happens alongside and after drying, and its scope depends on the water category.
- Antimicrobial application on affected structural surfaces to suppress bacterial and fungal growth while materials finish drying.
- Detailed cleaning of hard surfaces — floors, baseboards, cabinet interiors, framing exposed during demolition.
- HEPA vacuuming and air scrubbing to capture airborne particulate and spores, especially where material was removed.
- Odor control using enzymatic treatments, hydroxyl generators, or thermal fogging rather than simply masking smells with fragrance.
- Content cleaning for salvageable belongings: furniture, textiles, hard goods, and in some cases documents and photographs sent out for specialty restoration.
One honest note about belongings: not everything can be saved, and a good company will tell you early rather than late. Carpet pad, saturated particleboard furniture, and most porous items exposed to category 3 water are disposed of. Solid wood, sealed surfaces, metal, glass, and most clothing and linens usually can be cleaned and returned. Everything discarded should be photographed and listed for your claim before it leaves the property.
Step 6: Mold Prevention and Remediation
Mold is the reason the entire process is built around speed. Given moisture, an organic food source like drywall paper or wood, and temperatures in the range every Katy home sits at year-round, mold spores that are already present in the air begin growing within 24 to 48 hours. Visible colonies commonly appear within three to five days.
Prevention is straightforward in principle: remove the water fast, dry the structure completely within 48 hours where possible, keep relative humidity controlled during drying, apply antimicrobial to affected materials, and verify dryness with meters rather than assumptions. Homes dried properly in the first two days rarely develop a mold problem.
When remediation is needed instead of prevention
If water sat for several days, if the loss involved sewage or outdoor flood water, or if there is visible growth or a persistent musty smell, the job shifts from prevention to remediation. That means containment barriers with negative air pressure, HEPA filtration, removal of contaminated porous materials, HEPA vacuuming and detailed cleaning of remaining surfaces, and post-remediation verification before rebuilding starts.
In Texas, mold remediation projects above a certain size must be performed by licensed remediators, and clearance documentation matters if you ever sell the home. Do not let anyone paint or drywall over material that has not been verified clean and dry.
Step 7: Repairs and Restoration
Once the structure passes final moisture verification, the rebuild phase begins. This is where the house stops looking like a job site and starts looking like your home again.
- Drywall repair or replacement, including taping, floating, and texture matching so patched areas blend with existing walls.
- Insulation replacement in any wall cavity where it was removed or compressed.
- Flooring repair or replacement — refinishing salvageable hardwood, replacing carpet and pad, resetting tile, or installing new luxury vinyl plank.
- Baseboard, trim, and door casing replacement, since the bottom few inches are almost always the first casualty.
- Cabinet repair or replacement, particularly kitchen and bathroom base cabinets with swollen particleboard bottoms.
- Painting, ideally wall-to-wall or corner-to-corner rather than spot patching, so sheen and color match.
- Any structural framing or subfloor repair identified during drying.
The goal is pre-loss condition: the home returned to the state it was in before the water, not visibly patched. Ask up front whether your restoration company handles reconstruction in-house or subcontracts it. A single company managing both mitigation and rebuild removes the most common source of delay — the handoff gap where nobody owns the schedule.
How Much Does Water Damage Restoration Cost?
Most residential water damage jobs in the Katy area fall between roughly $1,500 and $6,000 for mitigation, with small contained losses running $500 to $1,500 and severe multi-room or category 3 losses reaching $10,000 to $25,000 or more once reconstruction is included. Those are realistic ranges, not quotes — the actual number depends on measurable factors.
- Volume of water and how many square feet are affected.
- Category of water: clean, gray, or black. Sewage losses cost substantially more because materials must be removed rather than dried.
- Which materials got wet — carpet and pad are cheap to replace, hardwood and custom cabinetry are not.
- How many days of equipment are required, since drying is billed per piece of equipment per day.
- Whether mold is present and remediation with containment is needed.
- How much reconstruction is required after drying, which is often the largest line item on the whole job.
The single biggest cost driver is elapsed time. A burst supply line caught in one hour is a drying job. The same line running for a day and a half is a drying job plus flooring, cabinets, drywall, and possibly mold remediation.
Does Insurance Cover Water Damage Restoration?
Usually yes — if the damage was sudden and accidental. That phrase is the hinge every Texas homeowners policy turns on. Damage that happens abruptly and unexpectedly is generally covered. Damage that developed slowly over time, or that resulted from deferred maintenance, generally is not.
Commonly covered situations
- A pipe bursts or a supply line splits and floods a room.
- A water heater ruptures.
- A washing machine hose or dishwasher line fails.
- Wind damages the roof during a storm and rain enters through the opening.
- An upstairs tub or sink overflows accidentally.
Commonly excluded situations
- Rising water and street flooding — this requires separate flood insurance, which matters a great deal in the Katy and West Houston area.
- Long-term seepage from a leak that has been dripping for weeks or months.
- Damage attributed to lack of maintenance, such as a known drip that was never repaired.
- Sewer and drain backups, unless you carry the specific backup endorsement.
- Foundation and slab leak repair itself is often excluded even when the resulting water damage is covered — the policy pays to fix the damage, not the pipe.
Documentation is what gets claims approved. Photograph and video everything before anything is moved or removed. Keep receipts for anything you buy during the emergency. Save damaged materials or photos of them. And use a restoration company that provides daily moisture logs, equipment records, and a written scope — adjusters approve documented work far more readily than a lump-sum invoice.
Why Hiring a Professional Water Damage Company Matters
Plenty of homeowners try to handle water damage alone, and for a genuinely small spill that is a reasonable call. For anything that has touched drywall, subfloor, or cabinetry, here is what professional water damage cleanup actually buys you.
- Faster drying. Commercial dehumidifiers remove many times more moisture per day than a rental unit, which shortens the window in which mold can start.
- Equipment you cannot rent meaningfully — truck-mounted extraction, hardwood floor drying mat systems, negative air machines, injection drying for wall cavities.
- Detection of hidden damage. Thermal imaging and moisture meters find water in wall cavities, under tile, and above ceilings that would otherwise be discovered months later.
- Real mold risk reduction through fast drying, antimicrobial treatment, and verified dry standards rather than guesswork.
- Insurance-grade documentation: moisture logs, photos, equipment records, and a line-item scope your adjuster can approve.
- Correct handling of contaminated water, which protects your household from bacteria and cross-contamination.
- One accountable point of contact from the first extraction through the final coat of paint.
Frequently Asked Questions
How long does water damage restoration take?
Drying typically takes 3 to 5 days, and the complete process including repairs usually runs one to three weeks. Minor single-room losses can finish in 1 to 3 days, while severe losses involving multiple rooms, contaminated water, or mold can take several weeks.
Can I clean up water damage myself?
You can handle a small, contained spill of clean water on a hard surface if you dry it within a few hours. Anything that soaks carpet pad, reaches drywall, spreads under cabinets, or involves gray or black water needs professional extraction and monitored drying, because surface drying leaves moisture inside materials.
How quickly should water damage be repaired?
Extraction should begin within the first 24 hours and ideally within a few hours. The goal is to have the structure dry within 48 hours, which is the window before mold typically begins growing. Reconstruction happens afterward, once moisture readings confirm the structure is dry.
What happens if water damage is left untreated?
Untreated water damage leads to mold growth within a couple of days, swollen and delaminating flooring, ruined insulation, warped framing, persistent odors, damaged electrical components, and eventually structural weakening. It also jeopardizes an insurance claim, since carriers can deny damage that worsened because it was not mitigated promptly.
Does water damage always cause mold?
No. Mold needs moisture that lingers. When water is extracted quickly and the structure is fully dried within 24 to 48 hours, mold usually does not develop. Mold problems come from moisture left behind — inside walls, under flooring, or in insulation — not from the water event itself.
How do restoration companies dry a house?
They extract standing water first, then create a controlled drying environment using air movers to accelerate evaporation from wet surfaces and commercial dehumidifiers to remove that moisture from the air. Technicians take daily moisture and humidity readings and adjust equipment until materials match the dry standard measured in unaffected areas.
How much does water damage restoration cost in Katy, TX?
Most Katy homeowners spend roughly $1,500 to $6,000 on mitigation, with small losses closer to $500 to $1,500 and severe or contaminated losses running $10,000 or more once reconstruction is included. Cost depends on affected square footage, water category, materials, days of drying equipment, and whether mold remediation is required.
Need Water Damage Restoration in Katy, TX?
If water is in your home right now, the most useful thing you can do after shutting off the source is call a local crew that can start extraction today. Katy Water Damage Pros provides 24/7 emergency water damage restoration for homeowners throughout Katy and the surrounding area, including Cypress, Richmond, Fulshear, Sugar Land, and West Houston.
- Emergency response, day or night, with local crews and no answering service runaround.
- Truck-mounted water extraction and standing water removal.
- Commercial air movers and dehumidifiers with daily documented moisture monitoring.
- Antimicrobial treatment and mold prevention, plus full remediation when growth has already started.
- Complete repairs — drywall, flooring, trim, cabinetry, and paint — back to pre-loss condition.
- Insurance-ready photos, moisture logs, and written scopes to support your claim.
Call now or send us a message through our contact page, and we will walk you through what to do in the meantime while a Katy crew is on the way.